Support your Business with a Raving Facebook Group
ByAccording to announcements by Mark Zuckerberg of Facebook; groups are where you are going to get the most visibility and interaction. In this post, I will walk you through the process of setting up a Facebook group from scratch. To ensure you can support your business with a raving Facebook Group.
Let’s get started and create a Facebook Group
Log into your Facebook Personal Profile
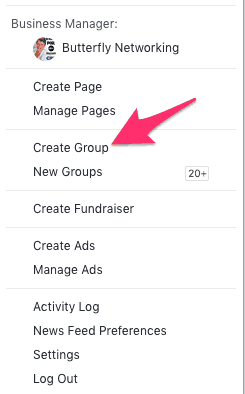
Go to the top right and click on the down arrow and select “create group”.
![]()
Name your Facebook Group
You definitely want to think about the name of your group. Do you want your group to be found in the Facebook search? If so you’ll want to be sure to use keywords in both your group name and description.
Depending on the purpose of your group you have a number of different options for your name.
- Brand Name
- Company Name
- Product Name
- Service
- Common Interest
- Brand with Location
- Company with Location
- Product with Location
- Service with Location
- Common Interest with Location
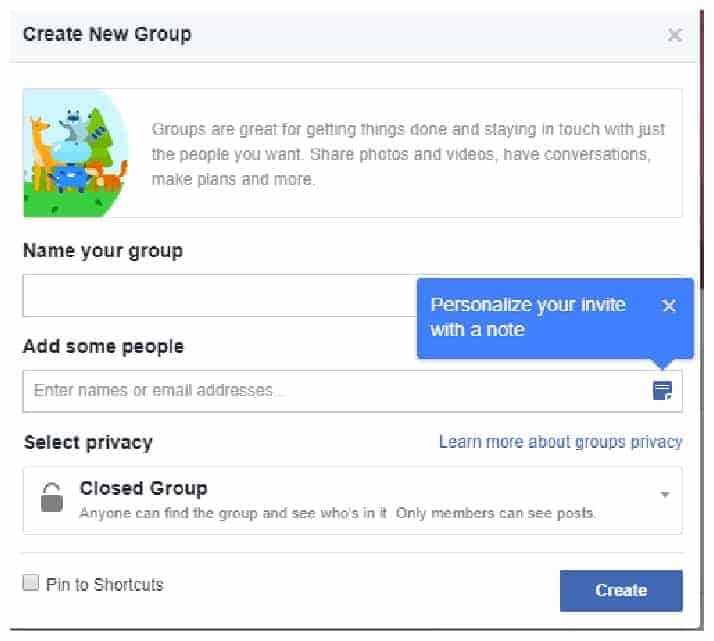
Invite a few customers, clients and friends
Enter a few names of people you know will likely come and join your group. You may want to ask people you know who will be helpful in assisting you in establishing your new group.
Select Privacy
Facebook offers three options for privacy, they are;
- Public – Public groups are open to anyone to join. This is a great option for lead generation. You will be able to create posts that highlight your expertise and use it as a tool to move people over to your paid products and services. Encourage members to post in the group but only if they follow your guidelines. Control remains in your hands and can remove people who don’t follow your rules.
- Closed – With a closed group anyone can find the group but they have to be approved before they can join. The keywords you used in your name and description will be important here if you want people to find the group. You can also make a closed group one that people have to pay to join, I personally
 belong to a few. If you do this be sure to fill in the description with directions on how to become a paying member. If they find you when searching it’s in your best interest to let them know how to join.
 - Secret – Secrets group will not be found in a search, only your members can find and post to the group. This is a great tool when you are working on something that you definitely do not want out there for general consumption. If you were a personal development coach with a group program this might be the perfect setting to share that very personal information.
Once you complete those three steps your group will be created. Next is to fine tune the details and add the content you want to be found for.

Edit Facebook Group Settings
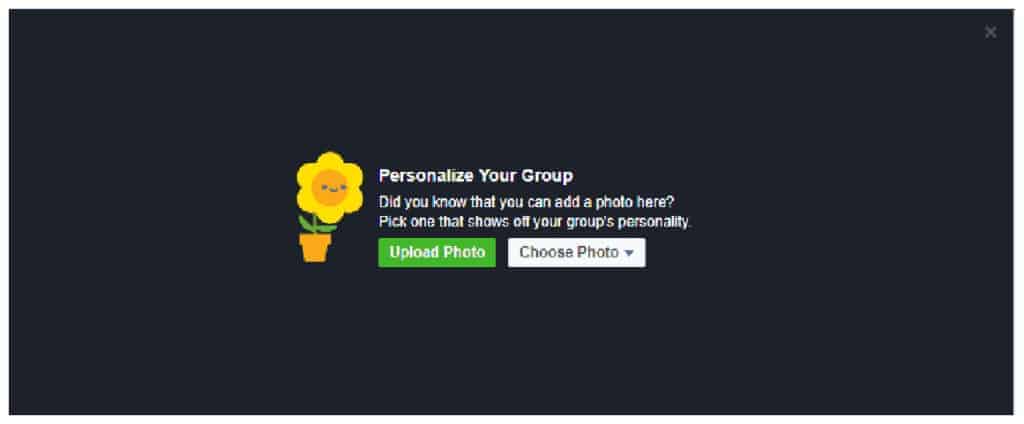
The cover graphic can be used to explain what your group is all about, just be beautiful graphics and anything in between. These can be easily created using free programs like Canva or GIMP.
Really successful Facebook group can be found on Facebook. Completing all of the sections here on the setting page makes it MUCH easier for people to find you organically if you are creating an open group.
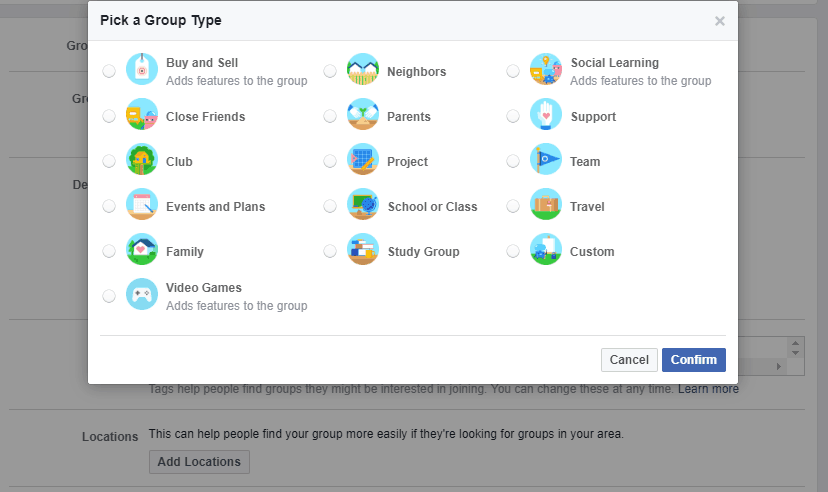
Carefully select the group type that is appropriate for your specific group because this will also assist people when searching on Facebook
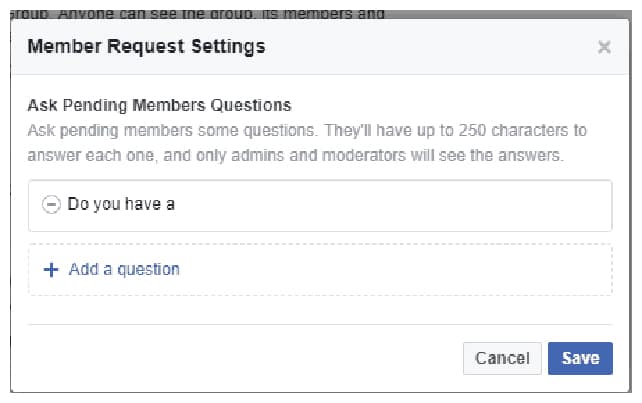
Be sure to ask Ask Pending Members Questions – This will allow you to screen any new membership requests. Previously in order to ask questions, you would need to friend the person or send them a Facebook message, ask the questions and then manually keep track. A whole lot of work! With the built-in questions, you no longer have to indiscriminately add people who request membership. You can now approve them based on their answers and hopefully keep out anyone who may abuse your group.
Manage your Facebook Group
Once you have everything set up it’s time to Run your Facebook Group
Introduction – Most noteworthy, let people know what your group is all about. Be sure to provide enough information to allow potential members to make that informed decision about joining your group. This will be visible in the right-hand column of your group.
Rules and guidelines – To run a productive and clean Facebook group, it is important to outline what is acceptable and what is not. Outline to your new members what is acceptable. Be sure to post your rules where your members can easily see them. In my experience simple is best, many of the groups I belong to only have 4 rules. You can check out all the rules in the groups to which you currently belong, to find them follow the graphic below.

Respectful – Treat others with respect and monitor your group to ensure members are treating each other with respect.
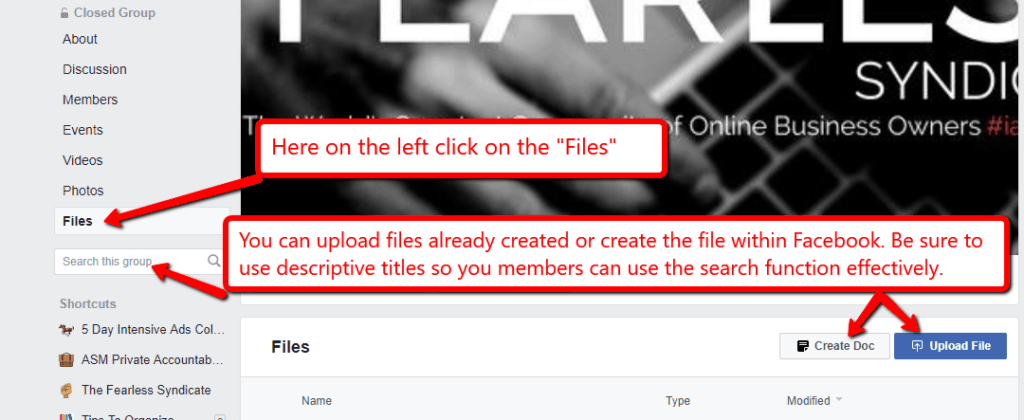
Make it easy to consume – My personal pet peeve. 🙂 Your group newsfeed will not remain in chronological order and can become confusing for your members to find specific posts. When specific posts are important to your members you may want to use the “File” function to create a list of the most important ones. Members can also add files to add to the value of your group.
Engage regularly – This one is critical, like everything in life you get what you put into it. Test setting the notifications for your group so that you receive notifications for all posts and comments. It may be too much for you, this will depend on the size and activity level of your group, you will have to find your specific comfort level. Add admins to assist when your group gets rockin’ and rollin’!
Check out my previous post on Facebook Business Groups